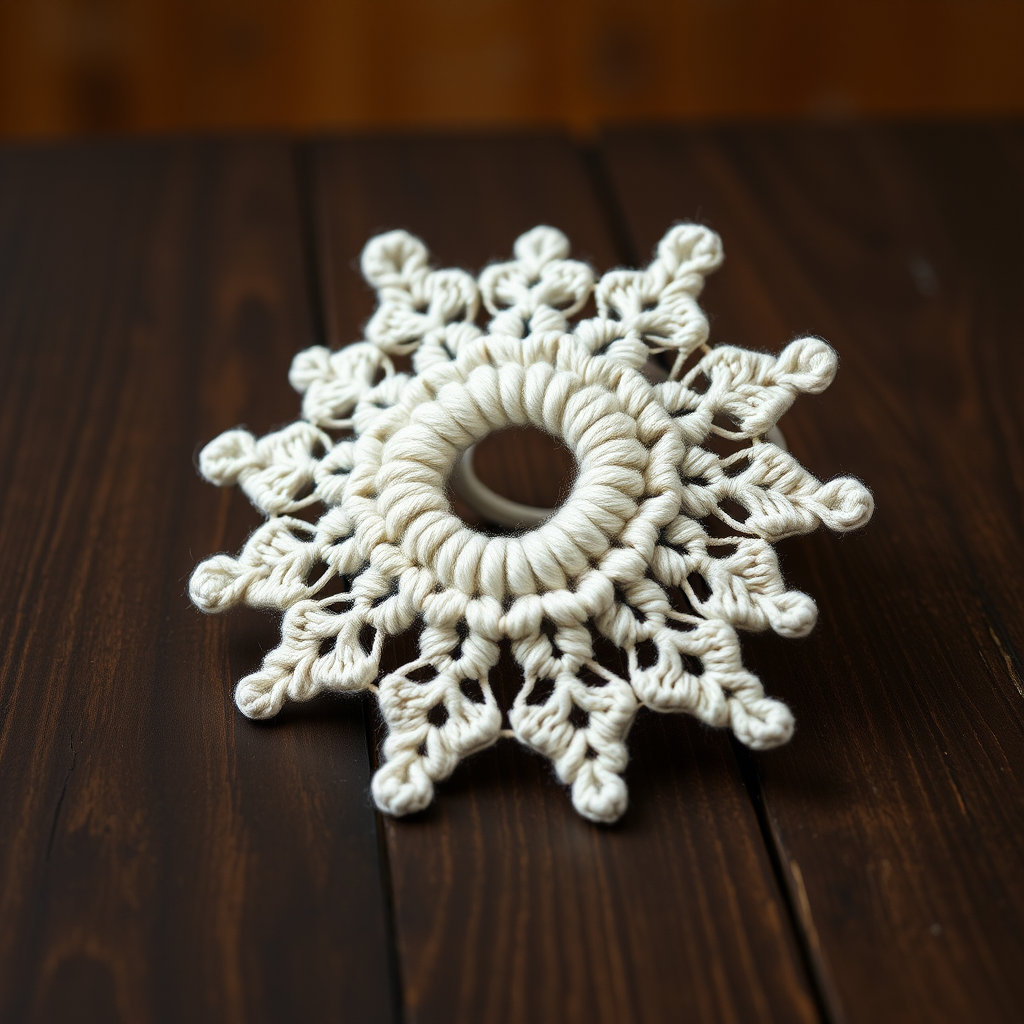
Frosted Berry Wreath Ornament and Coaster Set Free Pattern

Frosted Berry Wreath Ornament and Coaster Set – Free Crochet Pattern
Bring a touch of woodland charm to your holiday table with this versatile crocheted wreath that doubles as both a coaster and an ornament. The textured berry clusters and frosted white edging create a cozy, handmade feel that captures the spirit of the season. Whether you're sipping hot cocoa by the fire or decorating your tree, this festive piece adds warmth and character to any setting. Best of all, this pattern is beginner-friendly and works up quickly with basic stitches.
This pattern creates a flat, circular wreath with a scalloped edge and raised berry clusters. The combination of rich evergreen, bright berry red, and soft cream creates a color palette that is both festive and natural. The dense double crochet texture gives the wreath a sturdy, substantial feel, while the plump berry clusters add delightful dimension.
Materials Needed
- Yarn: Worsted weight cotton yarn in three colors:
- Cranberry Red (for berry clusters)
- Forest Green (for wreath base)
- Cream White (for edging and hanger)
- Hook: 3.5mm (E) crochet hook
- Other: Yarn needle for weaving in ends and sewing, scissors, foam board and pins for blocking (optional)
Gauge: 4 rounds of double crochet = 2 inches in diameter. Gauge is not critical for this project, but maintaining consistent tension will ensure your wreath lies flat.
Step-by-Step Instructions
Wreath Base (Make 2)
Worked in continuous rounds unless noted. Each round should be joined with a slip stitch to the top of the beginning chain-3.
Round 1: With Forest Green, make a magic ring. Chain 3 (counts as first double crochet), work 11 double crochet into the ring. Slip stitch to the top of the chain-3 to join. (12 double crochet total)
Round 2: Chain 3 (counts as first double crochet), double crochet in the same stitch (this creates an increase). Work 2 double crochet in each stitch around. Slip stitch to join. (24 double crochet total)
Round 3: Chain 3, double crochet in the same stitch. Double crochet in the next stitch. *Work 2 double crochet in the next stitch, double crochet in the next stitch.* Repeat from * to * around. Slip stitch to join. (36 double crochet total)
Round 4: Chain 3, double crochet in the same stitch. Double crochet in the next 2 stitches. *Work 2 double crochet in the next stitch, double crochet in the next 2 stitches.* Repeat from * to * around. Slip stitch to join. (48 double crochet total)
Round 5: Chain 3, double crochet in the same stitch. Double crochet in the next 3 stitches. *Work 2 double crochet in the next stitch, double crochet in the next 3 stitches.* Repeat from * to * around. Slip stitch to join. (60 double crochet total)
Fasten off and weave in the end. Make a second identical piece using the same instructions.
Berry Clusters (Make 8)
These small, dimensional clusters add the signature "frosted berry" look to your wreath.
Foundation: With Cranberry Red yarn, chain 4. Slip stitch into the first chain to form a ring.
Round 1: Chain 1, work 6 single crochet into the ring. Slip stitch to join. (6 single crochet total)
Round 2: Chain 1. In each stitch around, work the following sequence: single crochet, half double crochet, double crochet, half double crochet, single crochet. This creates a small petal shape in each stitch. Slip stitch to join. (6 small petals total)
Fasten off, leaving a long tail (approximately 8-10 inches) for sewing the berry to the wreath.
Assembly
Now it's time to bring your wreath together. Follow these steps carefully for a polished finish.
Step 1: Place the two wreath bases wrong sides together, aligning the edges carefully. Make sure the right sides (the sides you want visible) are facing outward.
Step 2: With Cream White yarn, working through both layers together, single crochet evenly around the outer edge. Work 3 single crochet in each double crochet from the last round. This will create a sturdy, finished edge that joins the two pieces. Join with a slip stitch to the first single crochet.
Step 3: Create the scalloped edge: *Chain 3, skip 1 single crochet, slip stitch in the next single crochet.* Repeat from * to * around the entire edge of the wreath. This creates a delicate, frosted-looking border. Fasten off and weave in all ends securely.
Step 4: Position the 8 berry clusters evenly spaced around the wreath. Place them just inside the scalloped edge, approximately 1/2 inch from the outer border. Use the long tails to sew each berry cluster firmly to the wreath base. Weave the tails through the back of the wreath to secure them invisibly.
Step 5 (Optional – for ornament use): To create a hanger, cut a 6-inch piece of Cream White yarn. Fold it in half to form a loop. Insert the folded end through the top of the wreath (between the two layers, just inside the scalloped edge). Pull the loop through, then thread the two loose ends through the loop and pull tight. This creates a secure hanging loop.
Finishing
Block the wreath flat by pinning it to a foam board and misting with water. Allow to dry completely. Blocking ensures the wreath lies perfectly flat and the stitches relax into place. The finished coaster will measure approximately 4 inches in diameter.
Your Frosted Berry Wreath is now complete! Use it as a festive coaster for holiday drinks, hang it on your tree as an ornament, or string several together for a charming garland. The possibilities are endless with this versatile, handmade piece.
Pro tip: These wreaths make wonderful handmade gifts. Consider making a set of four and tying them together with a ribbon for a thoughtful, personalized present.