Free Pattern: Midnight Mosaic Chain Necklace

Free Pattern: Midnight Mosaic Chain Necklace
Introduction
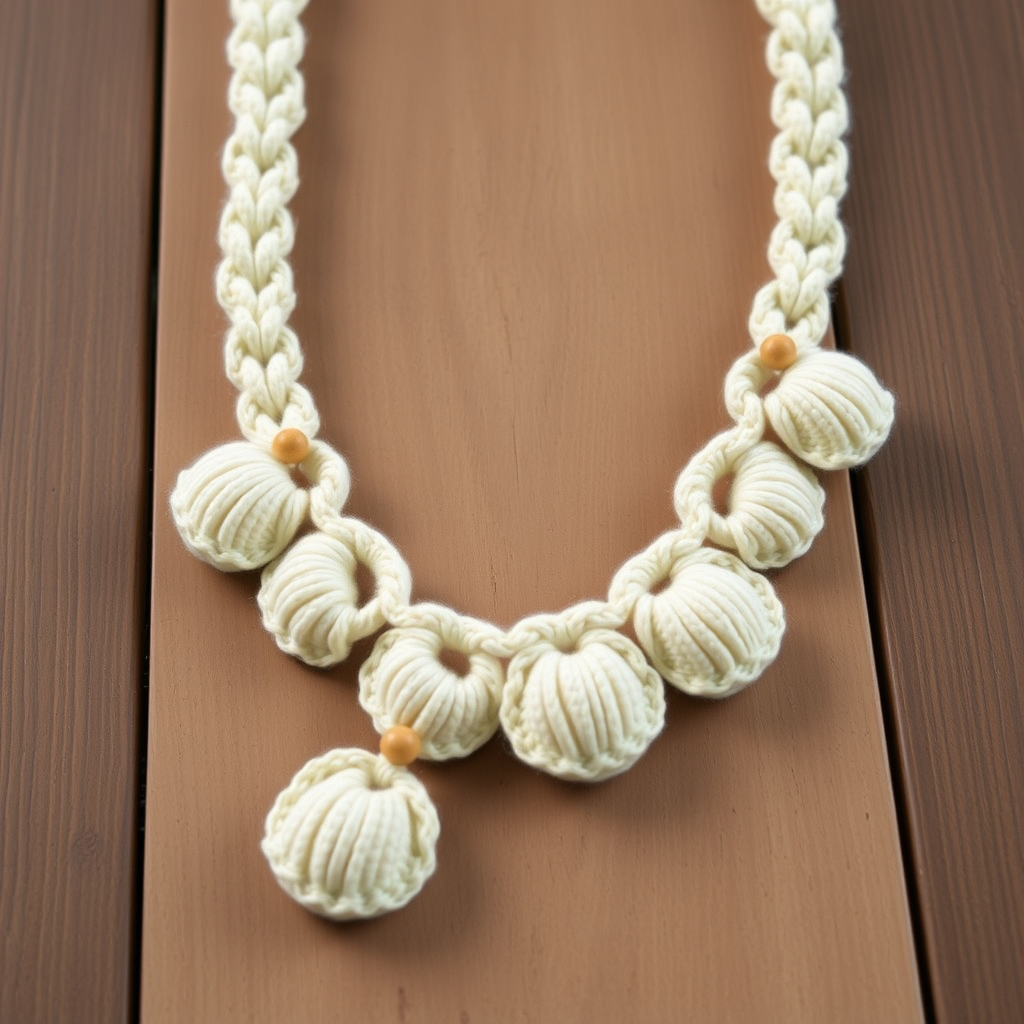
Welcome to your very first crochet jewelry project! The Midnight Mosaic Chain Necklace is a bold, modern statement piece that looks far more complicated than it actually is. It's perfect for complete beginners because it uses only two stitches you can learn in minutes: the chain and the single crochet. The finished necklace is a narrow, flexible gold-toned cord about 18 inches long, decorated with five crisp black geometric rectangles that alternate above and below the chain to create a striking mosaic effect. It feels light and comfortable against the skin, and the tight, even texture of the thread gives it a polished, boutique-quality look you'll be proud to wear or gift.
Materials Needed
- Black yarn: Size 10 crochet thread (lace weight, yarn weight category 0), approximately 50 yards.
- Gold yarn: Metallic gold crochet thread, size 10, approximately 30 yards.
- Crochet hook: 1.5 mm (US 8 steel) crochet hook. (Steel hooks are labeled differently from regular hooks — a US 8 steel hook is 1.5 mm.)
- Stitch markers: At least 5, to mark where each rectangle attaches to the chain.
- Tapestry needle: A blunt-tipped needle with an eye large enough for thread, used for weaving in ends.
- Scissors: Small, sharp embroidery scissors work best with fine thread.
- Clasp (optional but recommended): One gold-toned lobster clasp and one jump ring, plus small jewelry pliers to attach them.
- Blocking supplies: Pins and a flat, pinnable surface (a towel over a foam mat works well), plus a spray bottle of water.
Finished size: Approximately 18 inches (46 cm) long, or your desired necklace length. Each black rectangle measures about 1 inch (2.5 cm) wide and 0.75 inch (2 cm) tall.
Abbreviations and Beginner Glossary
- ch – chain. Make a loop of yarn on your hook, wrap the yarn over the hook, and pull it through the loop already on your hook. That's one chain stitch. A row of chains looks like a tiny braid or a row of little V shapes.
- sc – single crochet. Insert your hook into the stitch, wrap the yarn over the hook, pull up a loop (you now have 2 loops on the hook), wrap the yarn over again, and pull it through both loops on the hook. One loop remains. That's one single crochet.
- st / sts – stitch / stitches. A "stitch" is one completed unit of crochet work.
- 2nd ch from hook – Count the chain stitches on your hook backwards. The loop on your hook does not count. The first chain away from the hook is the "1st ch," the next one is the "2nd ch." You work your first stitch into that 2nd chain.
- turn – Flip your work over (like turning a page) so you can work back across the row you just made.
- fasten off – Cut the yarn a few inches from your work, pull the tail all the way through the last loop on your hook, and pull it snug. This locks the stitch so it won't unravel.
- tail – The loose length of yarn left after fastening off, used later for sewing or weaving in.
- right side – The "front" or "good" side of your work, the side meant to be seen.
- evenly spaced – Placed at regular, equal distances apart, with no big gaps or clumps.
- weave in ends – Thread a tail onto a tapestry needle and sew it back and forth through the back of your work so it's hidden and secure.
- block – Dampen your finished piece and pin it flat to dry so it holds a crisp, even shape.
Gauge
Gauge: 8 single crochet = 1 inch; 10 chain stitches = 1 inch.
Why gauge matters: Gauge is simply how big your stitches turn out. If your stitches are bigger than the gauge above, your rectangles will be larger than 1 inch and your chain will be longer than planned. If they're smaller, everything shrinks. For this necklace, exact gauge is not critical — a slightly different size still makes a beautiful necklace — but a tight, even tension is recommended so the rectangles stay crisp and geometric rather than floppy.
How to make a gauge swatch: With black thread and your 1.5 mm hook, chain 12. Single crochet into the 2nd chain from the hook and in each chain across (11 sc). Work 6 more rows of single crochet. Lay the swatch flat and measure across the middle: 8 single crochet stitches should measure about 1 inch. If your swatch is much wider, try holding the thread a little tighter or going down one hook size. If it's much narrower, loosen your tension or go up one hook size.
Beginner Tips Before You Start
- Keep your tension tight and even. Fine thread can feel slippery at first. Hold the thread firmly (but don't strangle it) so your single crochets sit close together — this is what makes the rectangles look crisp and geometric.
- Use stitch markers to plan your rectangle placement. Before you attach anything, lay the gold chain flat and place a marker every 3 inches. This guarantees your five rectangles end up evenly spaced.
- Count every row. The rectangles are only 6 rows tall, so it's easy to lose your place. Say the row number out loud or jot it down as you finish each one.
- Don't pull the joining stitches too tight. When you crochet the rectangle onto the chain, work the stitches snugly but not so tight that the chain puckers or bunches.
- Make one rectangle first as a test. Complete Rectangle 1 and check that it measures about 1 inch wide. If it's way off, adjust your tension before making the other four.
- Leave generous tails. A 6-inch tail gives you plenty of thread to weave in securely — short tails are much harder to hide.
Step-by-Step Instructions
Important: This necklace is made in two parts — a gold chain base and five separate black rectangles that are joined to the chain as you work. All stitches are crochet (not knitting).
Part 1: Gold Chain Base
Row 1: With gold thread, ch 2. Sc in the 2nd ch from hook. Ch 1, turn. (1 sc)
Row 2: Sc in the sc. Ch 1, turn. (1 sc)
Rows 3–120: Repeat Row 2 — that means: sc in the single sc, then ch 1 and turn — until the chain measures approximately 18 inches (or your desired necklace length). (1 sc per row)
Fasten off, leaving a 6-inch tail for finishing. This creates a narrow, flexible gold cord.
Part 2: Black Rectangles (make 5)
Rectangle 1
Row 1: With black thread, ch 9. Sc in the 2nd ch from hook and in each ch across. Ch 1, turn. (8 sc)
Row 2: Sc in each sc across. Ch 1, turn. (8 sc)
Row 3: Sc in each sc across. Ch 1, turn. (8 sc)
Row 4: Sc in each sc across. Ch 1, turn. (8 sc)
Row 5: Sc in each sc across. Ch 1, turn. (8 sc)
Row 6: Sc in each sc across. Do not fasten off. (8 sc)
Joining to the chain: Hold the gold chain horizontally with the right side facing you. With the black thread still on your hook, sc the short edge of the rectangle to the chain: work 4 sc evenly along the chain, then continue across the remaining 4 sc of the rectangle edge. Fasten off, leaving a tail. This attaches the rectangle to the chain.
Rectangles 2–5: Work each exactly as Rectangle 1 (Rows 1–6, then the joining step), but join each rectangle to the gold chain at evenly spaced intervals — approximately every 3 inches. Alternate which side of the chain each rectangle is attached to for a staggered look. Use the photo as a guide: the rectangles sit perpendicular to the chain, creating a mosaic effect.
Assembly and Finishing
Weaving in ends: Thread each tail onto your tapestry needle. Working on the wrong (back) side, sew the tail back and forth through the backs of several stitches — about 1 inch of travel — then reverse direction and sew back through a few more stitches. Trim the thread close to the work. Do this for every tail on the chain and all five rectangles.
Blocking: Lightly mist the finished necklace with water. Pin it flat on a towel over a foam mat, gently straightening the chain and squaring the corners of each rectangle with your fingers. Allow it to dry completely (a few hours, or overnight). This sets a crisp, even shape.
Attaching the clasp: Attach a gold-toned lobster clasp to one end of the gold chain and a jump ring to the other end using small jewelry pliers. Alternatively, crochet a small loop (ch 4, then slip stitch back into the chain) at each end and sew the clasp onto one loop and the jump ring onto the other.
Pro Tips and Variations
- Change the colors: Swap the black rectangles for deep navy, emerald, or burgundy thread for a different mood, or use a silver metallic thread for the chain instead of gold. Keep one color metallic and one matte for the boldest contrast.
- Adjust the length: Simply work more or fewer repeats of Row 2 on the gold chain. Add or remove 10 rows for roughly every 1.5 inches of extra or reduced length, and add or remove rectangles to keep the spacing even.
- Resize the rectangles: For larger rectangles, start with ch 11 (for 10 sc across) and work 8 rows instead of 6. For smaller ones, start with ch 7 (for 6 sc across) and work 4 rows. Adjust the joining step to match your new stitch count.
- Substitute the yarn: Any size 10 crochet thread works well. If you only have size 3 thread (a little thicker), go up to a 2.0 mm hook and expect slightly larger rectangles — test one first before making all five.