Enchanted Lagoon Ripple Afghan Free Pattern – Crochet a Shimmering Waterfall of Color

Dive Into the Enchanted Lagoon: A Free Ripple Afghan Crochet Pattern
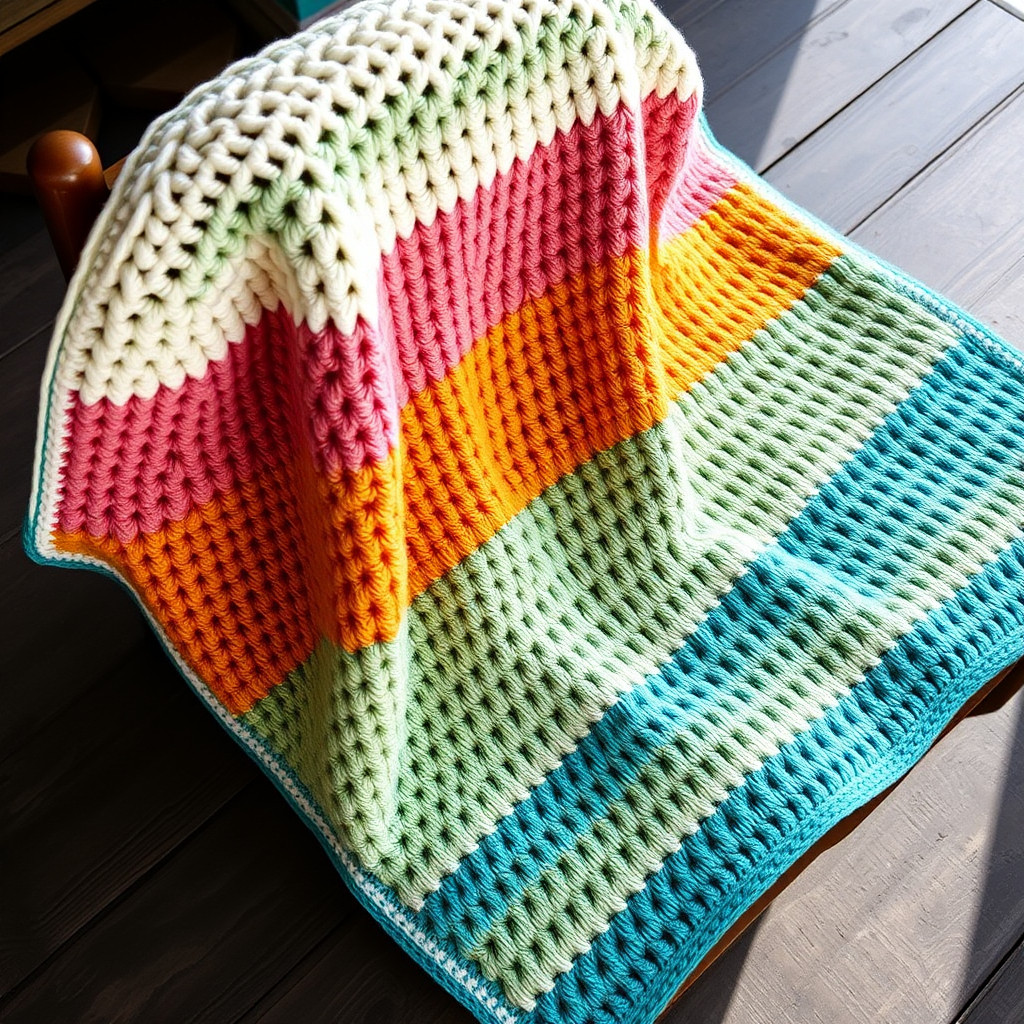
Imagine wrapping yourself in the soothing rhythm of ocean waves, where each stitch carries the tranquil transition from deep teal waters to warm, sun-kissed coral sands. The Enchanted Lagoon Ripple Afghan is more than just a blanket—it's a breathtaking journey of color and texture that brings the serene beauty of a tropical coastline right into your living space. This free crochet pattern combines the timeless, classic chevron silhouette with a modern, gradient-inspired palette, resulting in a stunning, textured centerpiece perfect for cozy evenings, thoughtful gifts, or a vibrant statement piece draped over your favorite armchair.
Whether you're a seasoned crocheter looking for a relaxing project or a confident beginner ready to tackle a new skill, this pattern is designed to be both rewarding and achievable. The rhythmic repetition of the ripple stitch is almost meditative, and the dramatic color shifts will keep you motivated to see the next wave unfold. Let's gather our materials and cast on this shimmering waterfall of color!
Materials Needed: Gathering Your Lagoon Essentials
Before we dive into the waves, let's ensure you have everything you need to create your own Enchanted Lagoon. The beauty of this pattern lies in its simplicity and the stunning gradient effect, which is achieved through a carefully planned color sequence.
Yarn & Hooks
- Yarn: Worsted weight (#4) cotton or acrylic blend. You will need yarn in 5 beautiful colors:
- Color A (Deep Teal): For the base and final border of your afghan.
- Color B (Seafoam): To begin the gentle transition.
- Color C (Aqua): The heart of the lagoon's vibrant waters.
- Color D (Sand): A warm, neutral beachy tone.
- Color E (Coral): A vibrant, sunny pop of color for the finish.
- Crochet Hook: 5.5 mm (I-9) crochet hook. This size is perfect for worsted weight yarn to create a dense, plush fabric that defines the chevron ridges beautifully.
Additional Tools
- Scissors: For cutting your yarn when changing colors.
- Yarn Needle: A large-eyed tapestry needle for weaving in those pesky ends and sewing the border.
- Stitch Markers (Optional): These can be helpful to mark the peaks (the 3-sc increases) and valleys (the skip-2 decreases) on your first few rows to ensure your pattern stays aligned.
Gauge & Size
- Gauge: 14 stitches and 10 rows = 4 inches in single crochet. Getting the right gauge is crucial for the final size and drape of your blanket. Always make a swatch first!
- Finished Size: The foundation chain of 162 stitches will create a generously sized throw blanket, perfect for snuggling on the couch.
Step-by-Step Instructions: Weaving Your Shimmering Waterfall
Now for the fun part! We'll break down the pattern into clear, manageable steps. The entire afghan is worked in single crochet (sc), making it a fantastic project for practicing your stitch consistency. The magic happens with the increases and decreases that form the iconic ripple pattern.
Getting Started: The Foundation Row
This first row sets the stage for all your ripples. Take a deep breath, and let's begin.
- Foundation Chain: With Color A (Deep Teal), make a slip knot and chain (ch) 162. This number is a multiple of 16 + 2, which is the secret to getting perfectly symmetrical peaks and valleys.
- Row 1 (Right Side): Work 2 single crochet (sc) in the 2nd chain from your hook. This creates the first half of your first peak.
- Sc in the next 6 chains.
- Create the Valley: Skip the next 2 chains. This creates the downward dip of your wave.
- Sc in the next 6 chains.
- Create the Peak: Work 3 sc in the next chain. This is the upward crest of your wave.
- Sc in the next 6 chains.
- Skip the next 2 chains (another valley).
- Sc in the next 6 chains.
- Repeat the Pattern: Now, repeat the sequence from the asterisk (*): *3 sc in next ch, sc in next 6 ch, skip 2 ch, sc in next 6 ch; repeat from * across the row.
- Finish the Row: You will know you're at the end when you have one chain left. Work 2 sc in that final chain to create the second half of your last peak. Turn your work. You should now have a total of 10 peaks and 9 valleys across your row.
Building the Waves: Row 2 and Beyond
Row 2 is the magic repeat that builds the entire afghan. Once you master this row, you can relax into the rhythm.
- Row 2: Chain 1 (this counts as your turning chain, not a stitch).
- Work 2 sc in the very first stitch of the row. This continues your peak.
- Sc in the next 6 stitches.
- Valley: Skip the next 2 stitches.
- Sc in the next 6 stitches.
- Peak: Work 3 sc in the next stitch (this should be the center stitch of the 3-sc group from the previous row).
- Sc in the next 6 stitches.
- Skip the next 2 stitches.
- Sc in the next 6 stitches.
- Repeat: Repeat from * across the row, just as you did in Row 1.
- Finish: End the row by working 2 sc in the very last stitch. Turn your work.
Pro-Tip: You will notice that the "skip 2" stitches naturally fall into the valleys, and the "3 sc" increases form the peaks. This creates the beautiful, structured ripple effect.
The Color Gradient Sequence: Painting Your Lagoon
This is where your afghan truly comes to life! The gradient effect is achieved by working a set number of rows in each color. Follow this sequence carefully to create the stunning ombre transition.
- Color A (Deep Teal): Work Rows 1 and 2 repeatedly for a total of 10 rows.
- Color B (Seafoam): Fasten off Color A and join Color B. Work Rows 1 and 2 repeatedly for a total of 10 rows.
- Color C (Aqua): Fasten off Color B and join Color C. Work Rows 1 and 2 repeatedly for a total of 10 rows.
- Color D (Sand): Fasten off Color C and join Color D. Work Rows 1 and 2 repeatedly for a total of 10 rows.
- Color E (Coral): Fasten off Color D and join Color E. Work Rows 1 and 2 repeatedly for a total of 10 rows.
- Repeat the Sequence: Now, repeat the entire color sequence (A, B, C, D, E) for a second time, working 10 rows of each color.
- Final Repeat: Repeat the sequence one more time (A, B, C, D, E), again with 10 rows of each color.
- Finishing Color: Finally, switch back to Color A (Deep Teal) and work your final 10 rows. This creates a beautiful, balanced frame for your gradient masterpiece.
When changing colors, do so at the end of a row. Work the last stitch of the old color until you have two loops left on your hook, then yarn over with the new color and pull through to complete the stitch. This creates a clean, seamless color change.
The Perfect Finish: Adding a Polished Border
A beautiful border is the jewelry of your afghan. It neatens the edges and gives it a professional, finished look. We'll use a two-round border for a durable and elegant finish.
- Round 1 (Single Crochet Border): With Color E (Coral), join your yarn in any corner of the afghan. Work 1 round of single crochet (sc) evenly around the entire perimeter of the blanket. Important: Work 3 sc in each corner to ensure the corners lay flat and don't curl. When you reach the starting corner, slip stitch (sl st) to the first sc to join.
- Round 2 (Crab Stitch Border): For a truly polished and unique edge, we'll work a reverse single crochet, also known as the crab stitch. This creates a beautiful, twisted, rope-like edging. Instead of working from right to left as you normally would, you will work from left to right.
- Ch 1. Do not turn your work.
- Insert your hook from front to back into the next stitch to the right.
- Yarn over, pull up a loop (you'll have 2 loops on your hook).
- Yarn over and pull through both loops on the hook to complete the crab stitch.
- Repeat this in each stitch around the entire afghan. Work 1 crab stitch in each of the 3 corner sc stitches to keep the corners neat.
- When you reach the end, fasten off and weave in the end securely.
- Weave in All Ends: Using your yarn needle, carefully weave in all loose ends from your color changes and the border. This is a crucial step for a durable, long-lasting blanket.
And there you have it—your very own Enchanted Lagoon Ripple Afghan! Lay it out, admire the stunning gradient, and enjoy the cozy, coastal vibes you've created with your own two hands. This project is a true labor of love, and the result is a breathtaking heirloom piece that will be cherished for years to come. Happy crocheting!