Enchanted Forest Gnome Home Free Pattern – Knit a Whimsical Yarn Basket
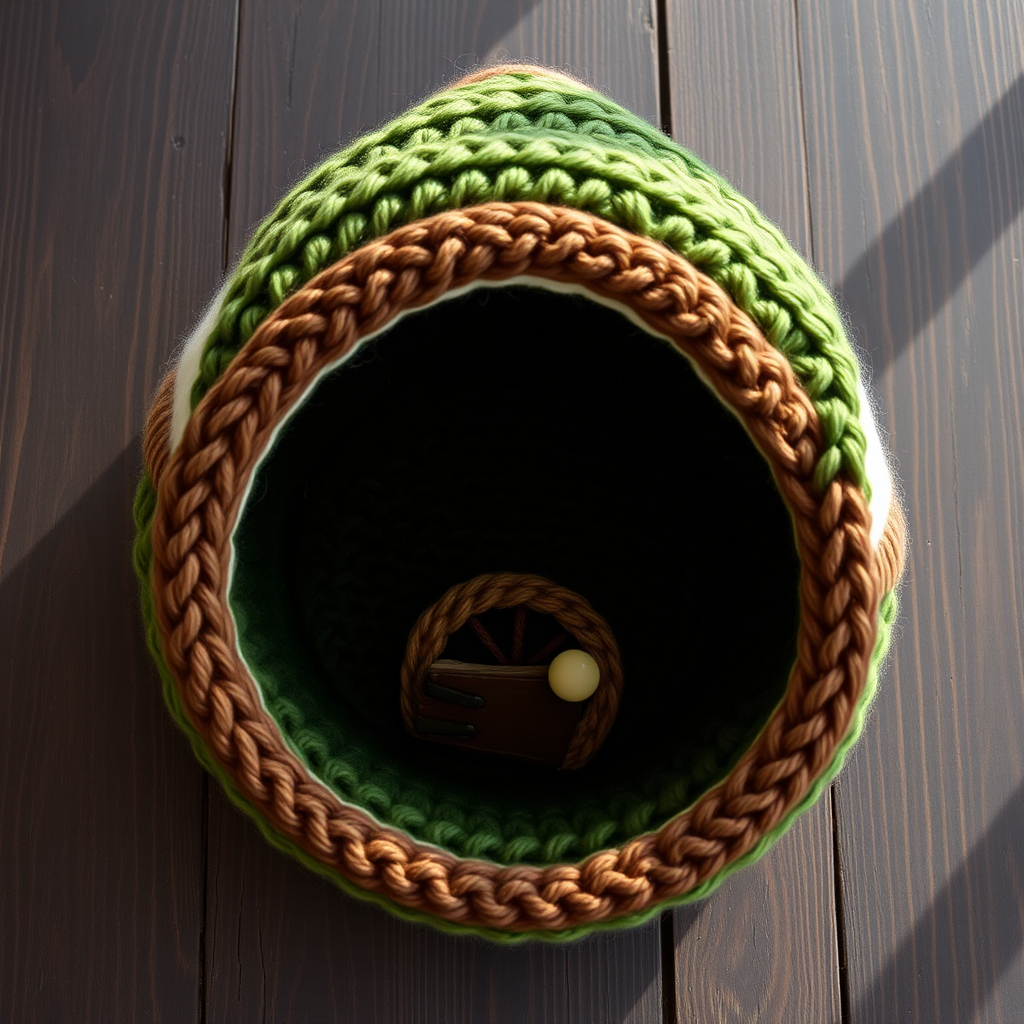
Bring a Touch of Woodland Magic to Your Home: The Enchanted Forest Gnome Home Basket
Imagine a cozy, handcrafted basket that looks like it was plucked straight from a storybook—a whimsical gnome home, complete with a tiny arched door, nestled in earthy forest hues. This free knitting pattern is your ticket to creating that exact piece of magic. Perfect for storing yarn, treasures, or simply as a charming decorative accent, this textured basket is a joy to knit and a delight to display. Whether you're a seasoned knitter or a confident beginner looking for a fun, structured project, this pattern is designed to guide you through every step with clarity and ease. Let's cast on and bring a little enchantment into your living space.
Materials Needed: Gathering Your Forest Treasures
Before you begin your knitting adventure, gather these simple materials. The beauty of this project lies in its use of basic, worsted-weight yarn and standard needles, making it accessible and affordable.
- Yarn: Worsted weight yarn in four colors (approx. 250g total):
- Forest Green (A): For the main body and base.
- Moss Green (B): For a contrasting band.
- Cream (C): For a textured, cozy section.
- Brown (D): For the roof rim and the charming door.
- Needles: US 7 (4.5mm) knitting needles. You can use straight needles or a circular needle for the body if you prefer, but straight needles work perfectly for the flat base and door.
- Notions: A tapestry needle for weaving in ends and sewing the door, and a pair of scissors.
Step-by-Step Instructions: Knitting Your Gnome Home
This pattern is worked in the round, but don't worry—it's simpler than it sounds. We'll start with a flat base, build up the sides, and then shape the top to create that iconic dome-like roof. Follow these detailed instructions carefully, and you'll have your own gnome home in no time.
Abbreviations You'll Need
- CO: Cast on
- K: Knit
- P: Purl
- Kfb: Knit into the front and back of the same stitch (this increases your stitch count by one).
- K2tog: Knit two stitches together (this decreases your stitch count by one).
- St(s): Stitch(es)
- Rnd: Round
Part 1: Knitting the Flat Base
The base of your basket is a simple circle that will form the sturdy foundation. We'll start with a small number of stitches and increase gradually.
- Cast On: With your Forest Green yarn (A), CO 6 stitches.
- Round 1: Knit all 6 stitches. (6 sts)
- Round 2: Kfb in each stitch around. (12 sts)
- Round 3: *K1, kfb*; repeat from * to * around. (18 sts)
- Round 4: *K2, kfb*; repeat from * to * around. (24 sts)
- Continue Increasing: Keep increasing in this manner, working one more knit stitch before each kfb in every subsequent round. For example, the next round would be *K3, kfb*, then *K4, kfb*, and so on. Continue this pattern until you have a total of 60 stitches on your needles.
- Work Even: Once you have 60 stitches, work 10 rounds in stockinette stitch (knit every round). This creates a flat, smooth circle for the bottom of your basket.
Part 2: Building the Sides with Texture
Now we'll start building the walls of your gnome home. This is where the beautiful color and texture bands come into play, giving your basket its cozy, handcrafted character.
- Moss Green Band: Switch to your Moss Green yarn (B). Work 20 rounds in stockinette stitch (knit every round). This creates a smooth, solid band.
- Cream Seed Stitch Band: Switch to your Cream yarn (C). Work 10 rounds in seed stitch. To do this, you'll alternate knit and purl stitches each round:
- Round 1: *K1, P1*; repeat from * to * around.
- Round 2: *P1, K1*; repeat from * to * around (this is the opposite of the previous round, creating the bumpy seed texture).
- Repeat these two rounds for a total of 10 rounds.
- Forest Green Band: Switch back to your Forest Green yarn (A). Work 15 rounds in stockinette stitch (knit every round).
- Brown Garter Stitch Rim: Switch to your Brown yarn (D). Work 5 rounds in garter stitch. This simply means you knit every round. This will create a ridged, sturdy rim at the top of the basket walls.
Part 3: Shaping the Top (The Roof)
This is where the basket begins to curve inward, forming the dome-like roof of your gnome home. We'll do this by decreasing stitches evenly.
- First Decrease Round: *K8, K2tog*; repeat from * to * around. You will now have 54 stitches.
- Second Decrease Round: *K7, K2tog*; repeat from * to * around. You will now have 48 stitches.
- Continue Decreasing: Keep decreasing in this pattern, working one fewer knit stitch before each K2tog in every subsequent round. So the next round would be *K6, K2tog*, then *K5, K2tog*, and so on. Continue this until you have only 12 stitches left on your needles.
- Close the Top: Cut your yarn, leaving a long tail (about 12 inches). Thread this tail onto your tapestry needle. Slide the needle through the remaining 12 stitches, removing them from your knitting needle. Pull the yarn tight to gather the stitches together, closing the top of the basket. Secure the yarn with a knot and weave in the end.
Part 4: Creating the Charming Door
No gnome home is complete without its signature door. This simple piece is knitted flat and then sewn onto the front of your basket.
- Cast On: With your Brown yarn (D), CO 10 stitches.
- Knit the Door: Work in garter stitch (knit every row) for 12 rows.
- Bind Off: Bind off all stitches. Weave in the ends.
- Attach the Door: Position the door on the front of your basket, about 2-3 inches up from the base. Using your tapestry needle and a length of Brown yarn, sew the door onto the basket along its sides and bottom edge. Leave the top edge open so it looks like a functional door. For an extra touch of whimsy, you can sew a small button or a tiny loop of cream yarn onto the door as a knob.
Part 5: Finishing Touches
- Weave in All Ends: Use your tapestry needle to carefully weave in any remaining yarn ends from your color changes and cast-on/cast-off edges. This will give your basket a clean, professional finish.
- Optional Hanging Loop: If you'd like to hang your basket, create a simple loop. Cut a 6-inch piece of Forest Green yarn, fold it in half, and use your tapestry needle to pull the folded end through the top of the basket. Thread the two loose ends through the loop and pull tight to create a small loop for hanging.
And there you have it—your very own Enchanted Forest Gnome Home basket! This project is a wonderful way to practice increases, decreases, and different stitch textures, all while creating a beautiful and functional piece of decor. Fill it with yarn, trinkets, or a small plant, and let it bring a touch of woodland magic to your home. Happy knitting!


