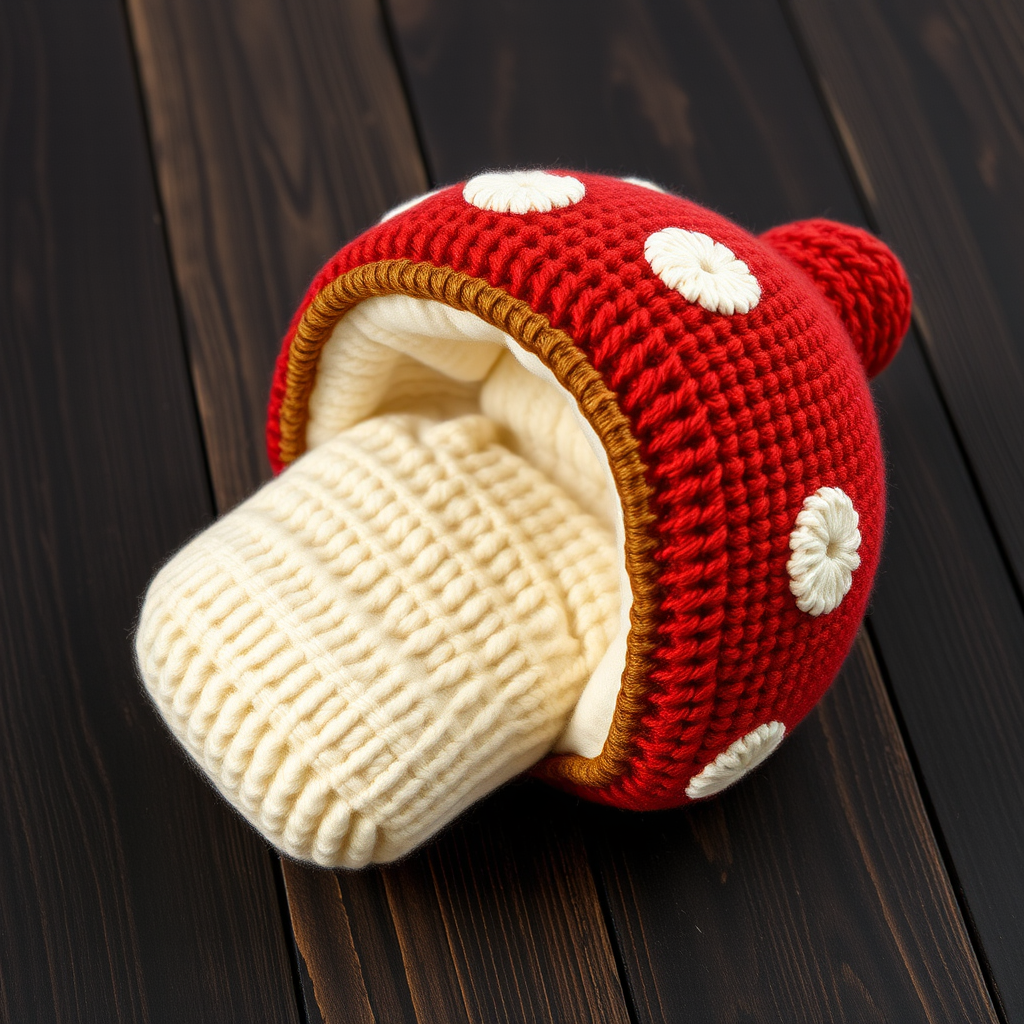
Bunny Ears Paperclip Dish Free Crochet Pattern

Bunny Ears Paperclip Dish Free Crochet Pattern
Introduction
This adorable little bunny ears paperclip dish is the perfect first project for anyone who has ever wanted to learn crochet. It is a small, flat trinket dish with a gently raised rim and two tall rust-colored bunny ears peeking up from the back, and it is worked almost entirely in one simple stitch. The finished dish measures about 4.5 inches across, so it fits neatly on a desk, nightstand, or entryway table to hold paperclips, rings, hair ties, or any other tiny treasures. The forest green base with rust ears gives it a cozy, woodland-meets-kawaii look that makes people smile. Best of all, it uses only a small amount of yarn and can be finished in an evening, even if you have never held a crochet hook before.
Materials Needed
- Yarn: Worsted weight (category 4) acrylic yarn. Forest green: approx. 60 yards. Rust: approx. 25 yards.
- Crochet hook: H/8 (5.0 mm)
- Stitch marker: 1 (to mark the first stitch of each round)
- Tapestry needle: A blunt-tipped needle with a large eye for sewing the ears and weaving in ends
- Scissors
- Finished measurements: Base diameter approx. 4.5 inches (11.5 cm); rim height approx. 0.5 inch (1.3 cm); each ear approx. 3.5 inches (9 cm) tall and 1.25 inches (3 cm) wide at the base
Abbreviations and Beginner Glossary
- ch – chain: Wrap the yarn over your hook and pull it through the loop on your hook. This creates one chain stitch.
- sc – single crochet: Insert your hook into the stitch, yarn over, pull up a loop (2 loops on hook), yarn over again, and pull through both loops. One single crochet made.
- sl st – slip stitch: Insert your hook into the stitch, yarn over, and pull the yarn through both the stitch and the loop on your hook at the same time. This makes a very short, flat stitch.
- sc2tog – single crochet 2 stitches together (a decrease): Insert your hook into the first stitch, yarn over, pull up a loop (2 loops on hook). Insert your hook into the next stitch, yarn over, pull up a loop (3 loops on hook). Yarn over and pull through all 3 loops. Two stitches become one.
- st(s) – stitch(es): One completed stitch or several stitches.
- Magic ring – A loop of yarn you make with your fingers that you crochet into, then pull closed so there is no hole in the center. Also called an adjustable ring.
- Back loops only – Every single crochet stitch has two top loops (a front loop and a back loop). Working in the back loops only means you insert your hook under just the loop farthest from you. This makes the fabric bend and creates a ridge.
- Continuous rounds – You work round after round in a spiral without joining or turning, like a snail shell.
- Fasten off – Cut the yarn, pull the tail all the way through the last loop, and tighten to secure.
- Weave in ends – Thread a yarn tail onto a tapestry needle and sew it back and forth through the fabric so it disappears and will not unravel.
Gauge
14 single crochet stitches x 16 rounds = 4 inches (10 cm) in single crochet worked in continuous rounds.
Gauge means how many stitches and rounds fit into a measured square of fabric. It matters because it controls the final size of your dish. If your stitches are much bigger than this, your dish will be floppy and oversized; if much smaller, it will be stiff and tiny. To check, crochet a small flat circle of about 20 stitches across and 16 rounds, lay it flat, and measure a 4-inch section with a ruler. Count the stitches across and the rounds up. If you have more stitches than 14, try a larger hook; if fewer, try a smaller hook. For this project gauge is not critical, but a slightly tighter gauge helps the dish hold its shape.
Beginner Tips Before You Start
- Use a stitch marker. Because the base is worked in a spiral, it is very easy to lose track of where each round begins. Place a marker in the first stitch of every round and move it up as you go.
- Do not pull your yarn too tight. Tension should be relaxed and even. If your stitches feel hard to insert your hook into, you are pulling too tightly.
- Count your stitches at the end of every round. The number in parentheses tells you exactly how many stitches you should have. If you are off, fix it before moving on.
- Keep your magic ring tail handy. After Round 1, pull the short tail firmly to close the center hole completely.
- Work the ears with the same hook. The ears are small and worked flat in rows, so turn your work at the end of each row and keep the edges straight.
- Take breaks. Small circles can make your hands tired. Stretch your fingers often.
Step-by-Step Instructions
Dish Base (forest green)
Work in continuous rounds. Do not join or turn unless instructed. Place a stitch marker in the first stitch of each round.
Round 1: Make a magic ring. Work 6 sc into the ring. Pull the ring closed. (6 sc)
Round 2: 2 sc in each st around. (12 sc)
Round 3: [2 sc in next st, 1 sc in next st] around. (18 sc)
Round 4: [2 sc in next st, 1 sc in each of next 2 sts] around. (24 sc)
Round 5: [2 sc in next st, 1 sc in each of next 3 sts] around. (30 sc)
Round 6: [2 sc in next st, 1 sc in each of next 4 sts] around. (36 sc)
Round 7: [2 sc in next st, 1 sc in each of next 5 sts] around. (42 sc)
Round 8: [2 sc in next st, 1 sc in each of next 6 sts] around. (48 sc)
Round 9: [2 sc in next st, 1 sc in each of next 7 sts] around. (54 sc)
Round 10: [2 sc in next st, 1 sc in each of next 8 sts] around. (60 sc)
Round 11: Sc in each st around. (60 sc)
Round 12: Sc in each st around. (60 sc)
The base should now measure approx. 4.5 inches (11.5 cm) across.
Raised Rim (forest green)
Round 13: Working in the back loops only, sc in each st around. (60 sc)
Rounds 14–15: Sc in each st around. (60 sc)
Round 16: Sl st in each st around. Fasten off and weave in ends.
The rim will stand up approx. 0.5 inch (1.3 cm) from the base.
Bunny Ears (make 2, rust)
The ears are worked flat in rows. Turn your work at the end of each row.
Row 1: Ch 7. Sc in 2nd ch from hook and in each ch across. (6 sc)
Row 2: Ch 1, turn. Sc in each st across. (6 sc)
Rows 3–10: Repeat Row 2. (6 sc)
Row 11: Ch 1, turn. Sc2tog, sc in each of next 2 sts, sc2tog. (4 sc)
Row 12: Ch 1, turn. Sc in each st across. (4 sc)
Row 13: Ch 1, turn. Sc2tog twice. (2 sc)
Row 14: Ch 1, turn. Sc2tog. (1 sc)
Fasten off, leaving a long tail for sewing. Each ear should measure approx. 3.5 inches (9 cm) tall and 1.25 inches (3 cm) wide at the base.
Assembly and Finishing
- Block the pieces. Lightly steam or wet-block the dish base and both ears to shape them. To wet-block, mist the pieces with cool water, pin them flat into shape on a towel, and let them dry completely. This smooths the stitches and helps the rim stand up.
- Position the ears. Using the long tails and a tapestry needle, sew the base of each ear to the inside of the back rim. Place them approx. 1 inch (2.5 cm) apart and centered at the back of the dish. To sew, pass the needle through the bottom edge of the ear and then through the rim and base, back and forth several times, pulling gently but firmly so the ear sits flat against the rim.
- Secure the ears. Sew all the way across the bottom of each ear, then make a small knot on the inside and pass the needle through the fabric to hide the knot.
- Weave in all remaining ends. Thread each yarn tail onto the tapestry needle and sew it back and forth through the inside of the dish for about 1 inch, then trim close to the fabric.
- Shape the ears. Gently bend the ears upward and slightly outward to create a playful bunny silhouette.
Pro Tips and Variations
- Change the colors. Try a cream base with pink ears, or a gray base with white ears for a different animal. You can also add a contrasting slip stitch edge around the rim in a third color.
- Adjust the size. To make a larger dish, continue the increase pattern from the base (adding one more single crochet between increases each round) until the base is the size you want, then work the rim rounds as written. To make a smaller dish, stop increasing earlier.
- Substitute yarn. Any worsted weight (category 4) yarn works well. Cotton yarn gives a sturdier, more washable dish, while acrylic is soft and budget-friendly. Just check your gauge so the dish keeps its shape.
- Make it a set. Crochet several dishes in different colors and stack them, or give them as small gifts filled with paperclips or candy.